To create a new timesheet :
- Navigate to timesheet creation: Click on the option “New Timesheet” in the left navigation pane.
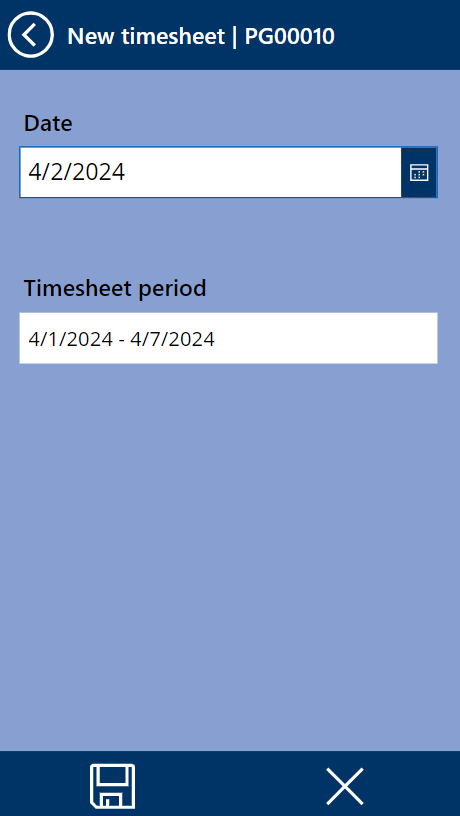
- Select the date: A prompt will appear asking you to choose the relevant date.
- Automatic period selection: Based on your date selection, the timesheet period will be automatically populated.
- Confirm and save: Once you have confirmed the date and timesheet period, click the “Save” button. This will create a new timesheet for the specified period.
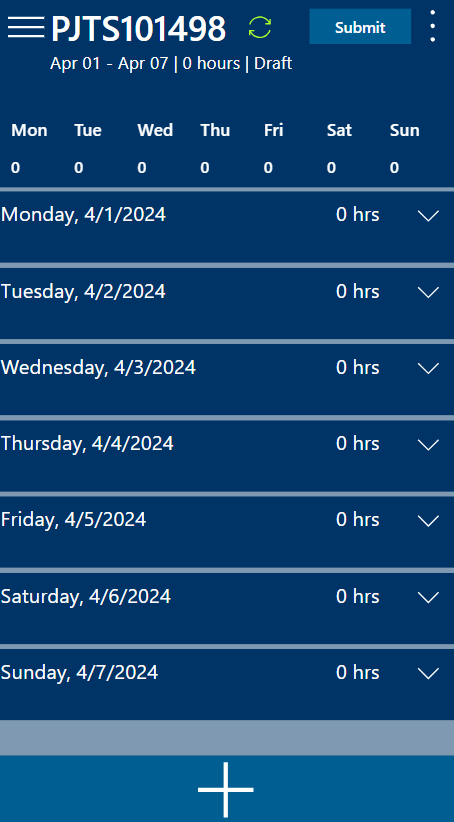
Post clicking the “Save” button, users will be able to see the timesheet form open, showing the selected period details.
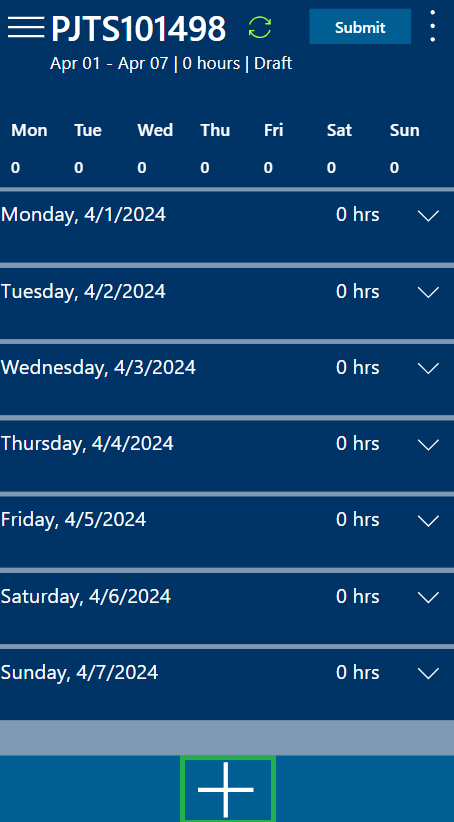
To input details into the timesheet lines, the user needs to click on the button below.
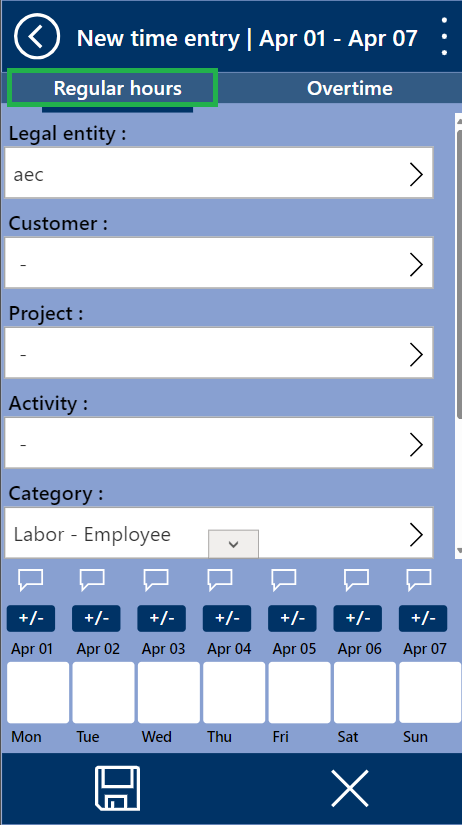
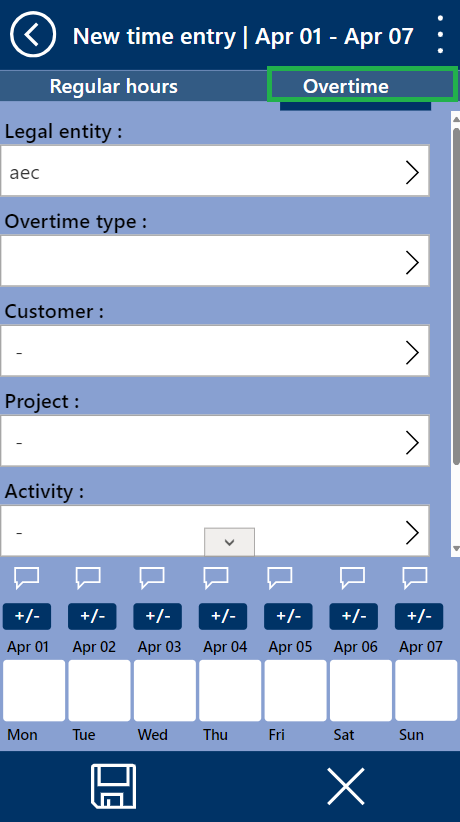
Upon clicking the previously mentioned button, users can input both their regular hours and overtime hours by toggling between the respective tabs.
Details of the fields available on the Regular hours tab are as follows:
| Fields | Description |
| Legal entity | Defaults with the current legal entity. User can select the required legal entity. |
| Customer | This is an optional field where user can select the customer. If the customer is not selected, then it will be automatically populated as soon as the project is entered. |
| Project | Select project. Project list will be filtered by the selected customer in above field. |
| Work location ID | Enter the work location ID. |
| Activity number | Select activity number. Activities will be filtered by the selected project in above field. |
| Category | User can select the category. Category will be defaulted by the worker and/or activity. |
| Hours | Enter hours for each day of the week. |
| Internal comment | Enter internal comments. |
| External comment | Enter external comments. |
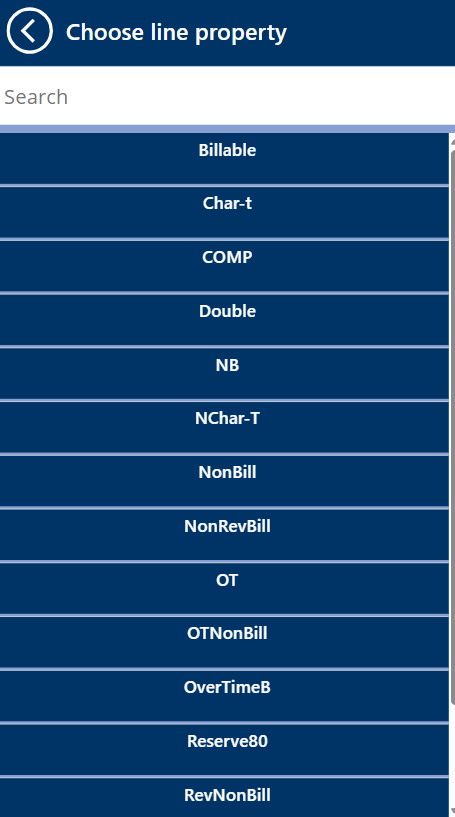
| Line property | Display line property. |
| Note – The mobile application will trigger a warning to the user if timesheet comments are not provided even when the parameter for timesheet comments are set to ‘Yes’ in the Projects360 timesheets settings. |
Details of the fields available on the Overtime hours tab are as follows:
| Fields | Description |
| Legal entity | Defaults with the current legal entity. User can select the required legal entity. |
| Overtime type | User can select the overtime type that drives the category and line property. |
| Customer | This is an optional field where user can select the customer. If the customer is not selected, then it will be automatically populated as soon as the project is entered. |
| Project | Select project. Project list will be filtered by the selected customer in above field. |
| Work location ID | Enter the work location ID. |
| Activity number | Select activity number. Activities will be filtered by the selected project in above field. |
| Hours | Enter hours for each day of the week. |
| Internal comment | Enter internal comments. |
| External comment | Enter external comments. |
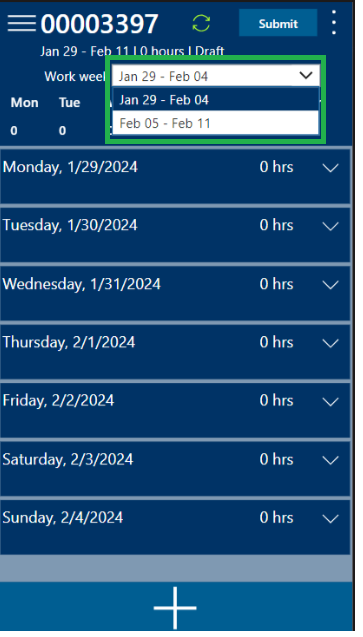
The timesheet application can manage timesheet periods that extend beyond a week, such as biweekly or monthly. Users can navigate between weeks through the dropdown menu available as per below snapshot.
Timesheet Comments
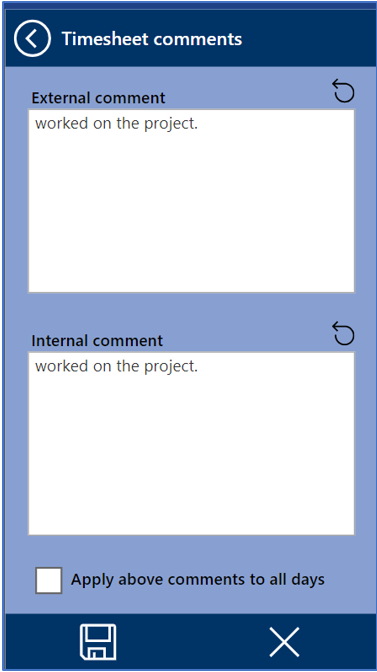
We have incorporated multiline text fields that allow users to input both external and internal comments for each hour entry. Additionally, users have the ability of copying a comments across all days within the same timesheet line for the entire timesheet period using ‘Appy above comments to all days’ option.
Copy Timesheet Function
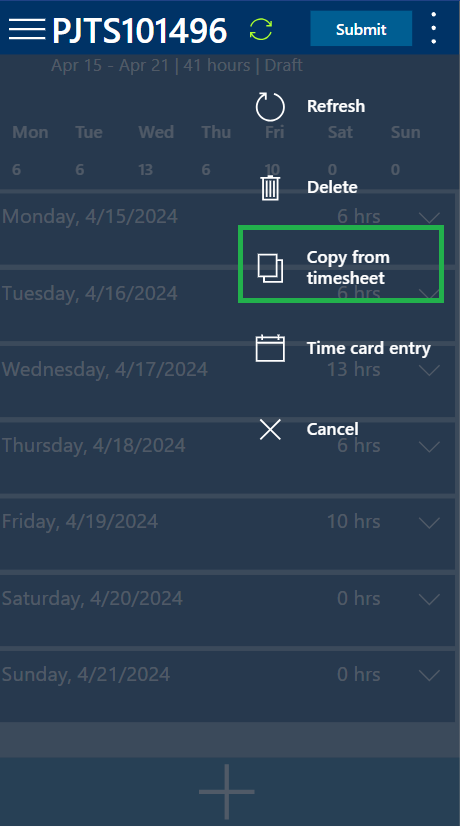
Further in addition to above, we have given an option to users to ‘Copy from timesheet’ in timesheet app which enables the users to expedite time entry by replicating information from previous timesheet lines. Users can effortlessly select a specific timesheet from their history, and upon copying, they have the flexibility to choose individual lines, add hours along with comments, and swiftly save the updated timesheet.
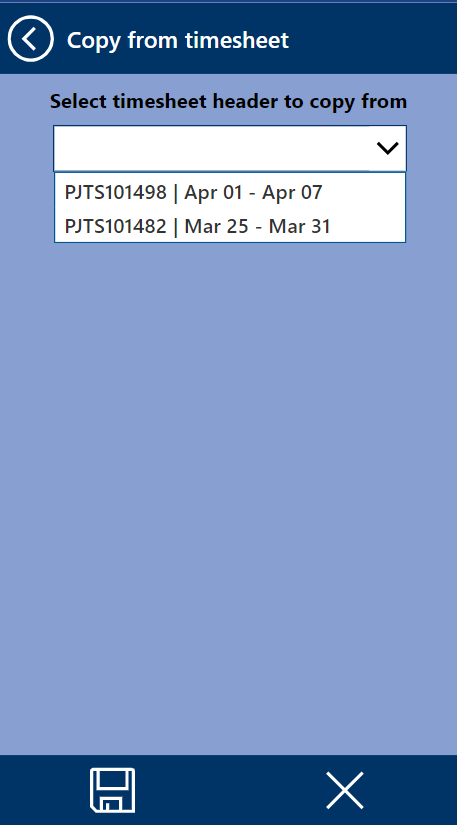
Users can initiate the ‘Copy from Timesheet’ function by clicking on the three dots located in the top right-hand corner. Following this, users can select the specific timesheet they wish to replicate.
Following this, users can pick the exact timesheet they want to copy from the options shown under the timesheet header.
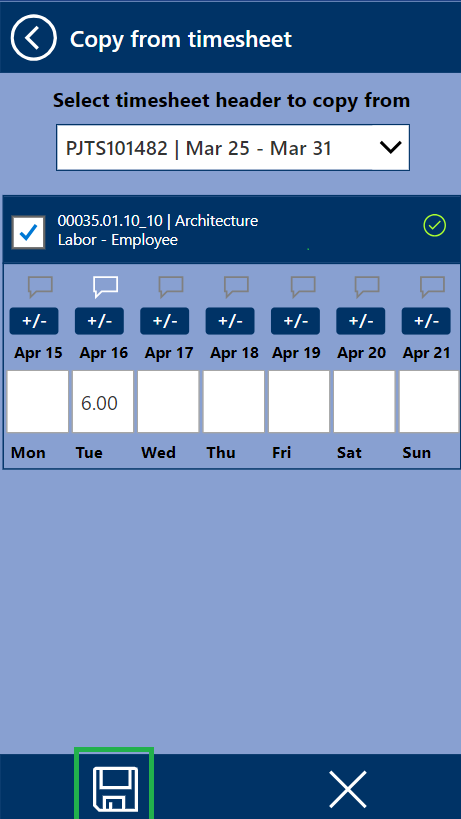
Upon selecting an existing Timesheet header, users will be presented with a comprehensive view of all associated timesheet lines beneath. Once timesheet is copied user can edit or submit the same.
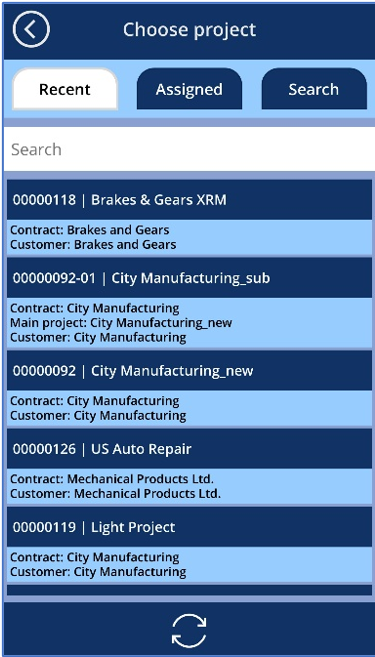
To facilitate project selection on the timesheet, the app offers users the flexibility of choosing projects from recent, assigned, and search options. Key information is displayed such as project Id, project name, contract description, main project name and customer name.
To choose project, within the ‘Recent’ tab, users can conveniently access their previously used or selected projects, with a dynamic ‘Search’ box available for quick filtering. Notably, for the ‘Project’ field, a filter by customer is also applied on this tab.
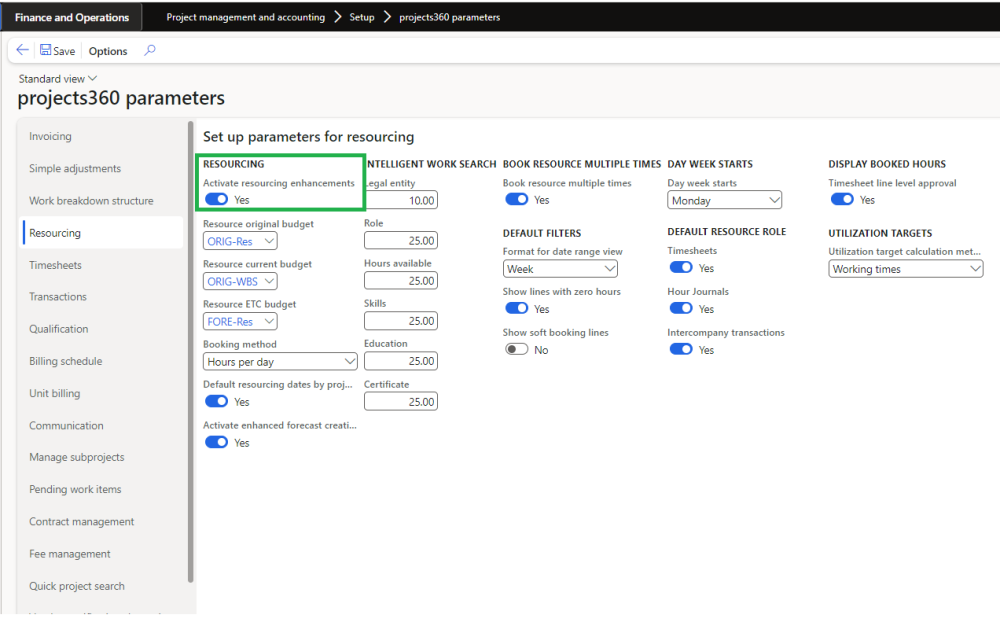
Furthermore, within the ‘Assigned’ tab, when the projects360 parameter ‘Activate resourcing enhancement’ is configured as ‘Yes’, the tab will showcase ‘Active’ projects where the user’s resource is assigned within the ‘Resource Forecast’, providing a relevant project list for the user.
More detailed information regarding quick project search capabilities is explained in the respective section.
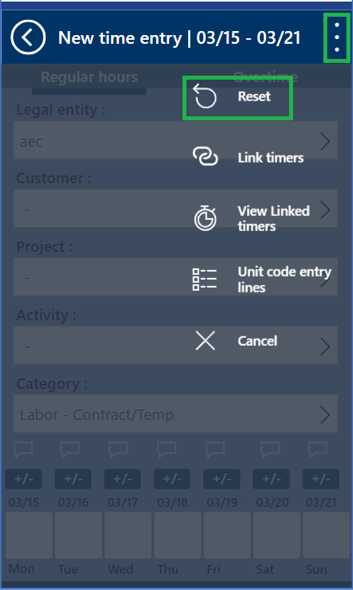
Users are provided with a Reset option to easily revert any changes before saving the timesheet line.
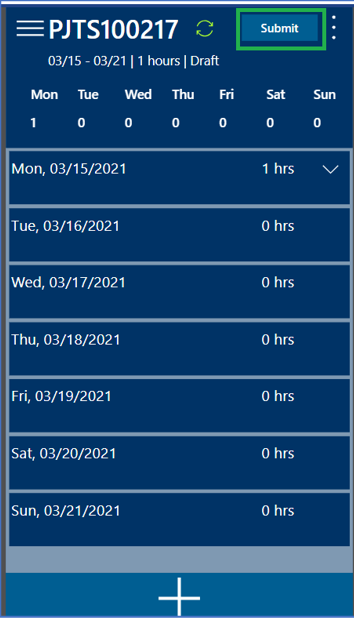
New timesheet lines can be created as well as exiting timesheet lines can be modified or deleted before the timesheet is submitted. As soon as the timesheet is submitted, the timesheet cannot be modified anymore.
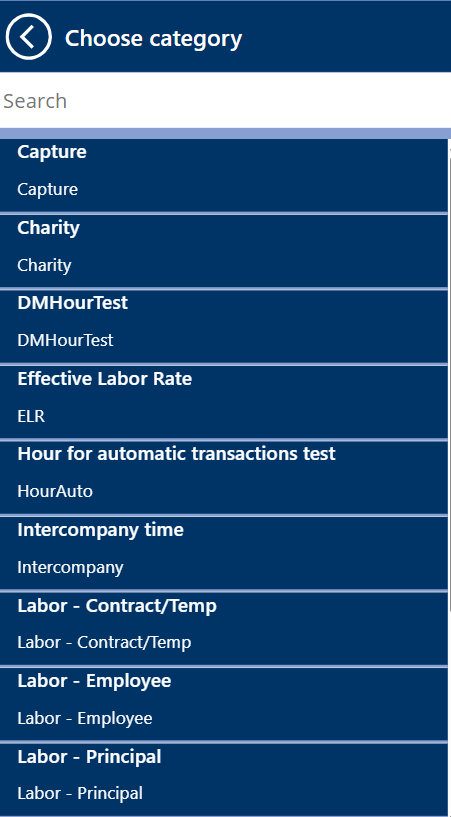
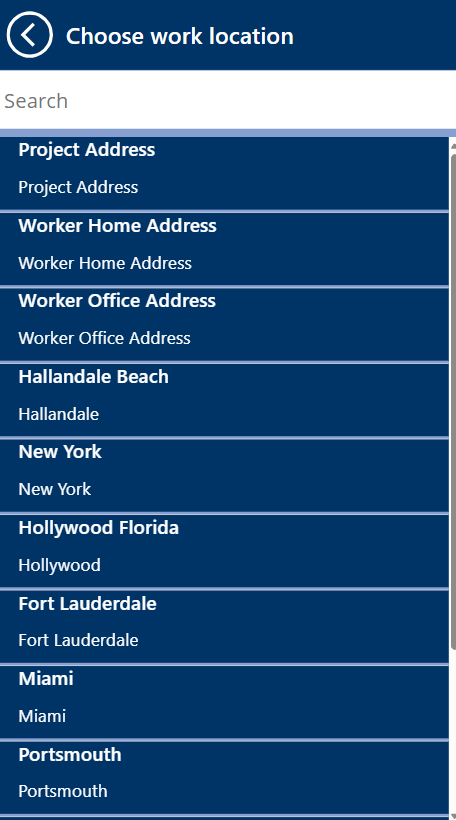
To facilitate users, we have provided lookup screens for activities, projects, categories, work locations, and line properties, enhancing user navigation directly from the timesheet lines screen. These lookups are intelligently filtered based on the selected project, ensuring an efficient experience for users to avoid human mistakes.


