Selection of custom copilot agent
We have set up several Copilot agents, each linked to a specific Finance and Operations (FO) environment. Because each team usually works in its own FO instance, it’s important to choose the Copilot agent or bot that matches your team’s environment.
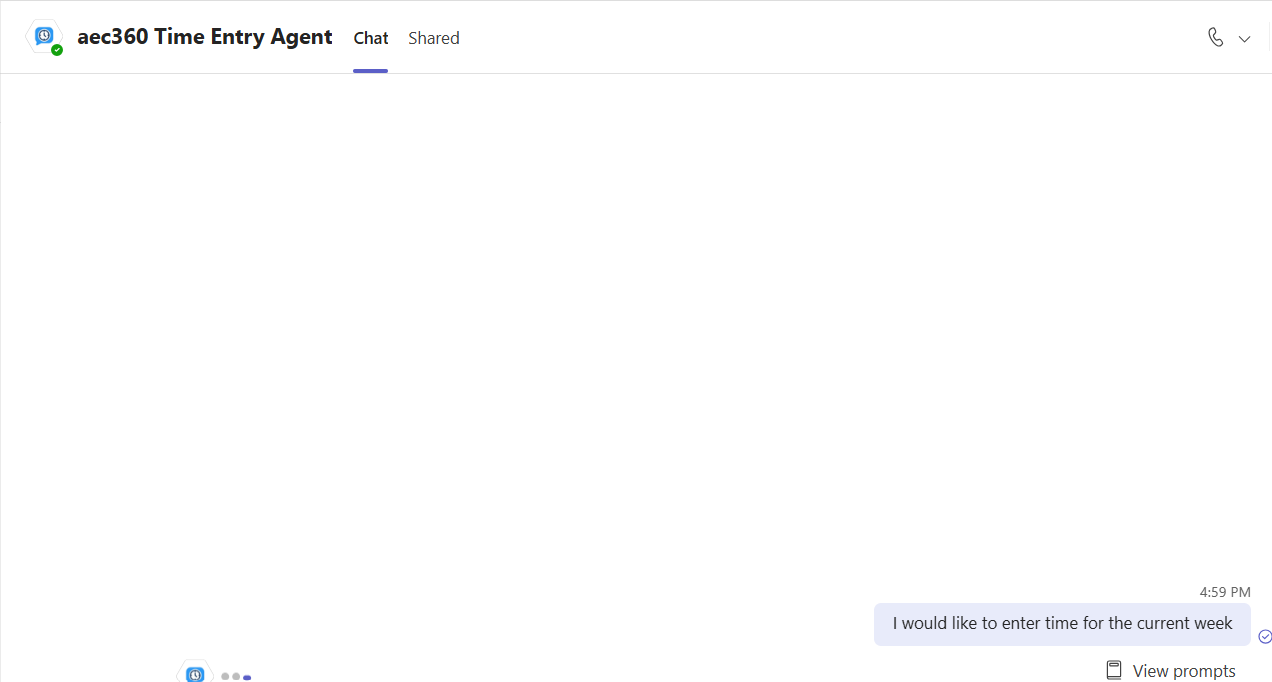
After selecting the correct Copilot custom agent in Microsoft Teams, you can create your timesheets and timesheet lines directly through the agent. Any information you enter will be automatically saved to the linked FO instance.
Each Copilot agent automatically uses the configuration and settings from its connected FO environment, ensuring consistency and compliance with your organization’s operational standards.
Procedure for selecting the Copilot custom agent associated with your Finance and Operations (FO) instance
- Open Microsoft Teams and sign in using your Microsoft credentials.
- Once logged in, go to the Apps section in the left-hand panel and select it.
- In the Apps menu, scroll down to Build for your org. Here, you’ll see all custom Copilot agents deployed to the same Microsoft Teams tenant you’re signed into—this should correspond to your Finance and Operations (FO) environment.

After identifying the appropriate custom agent, select Add to proceed.

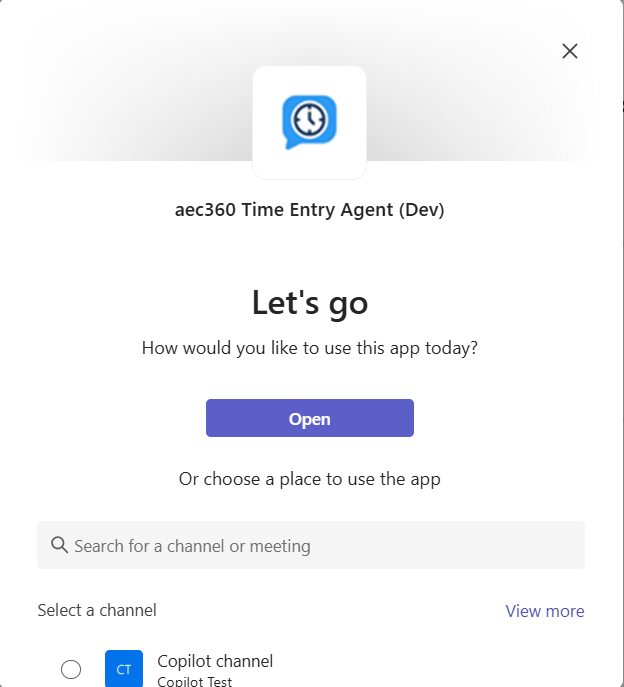
A confirmation dialog will appear indicating that the agent has been successfully added to Teams.
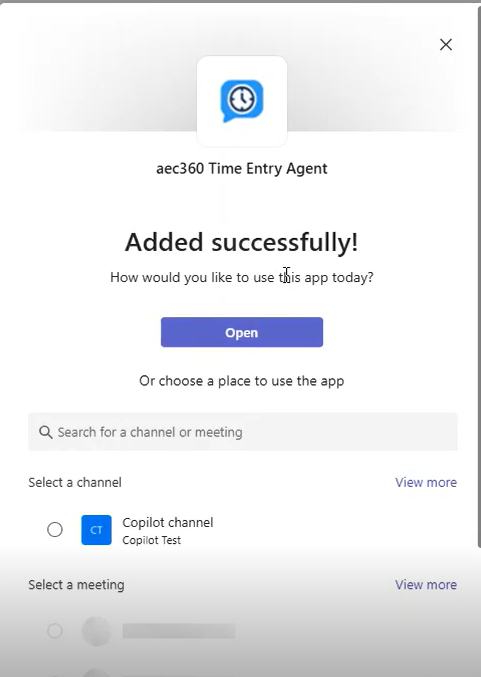
Click Open to begin interacting with the agent in a new chat window.
After signing in, you can use a variety of prompts to create time entries and time entry lines directly within the chat interface.

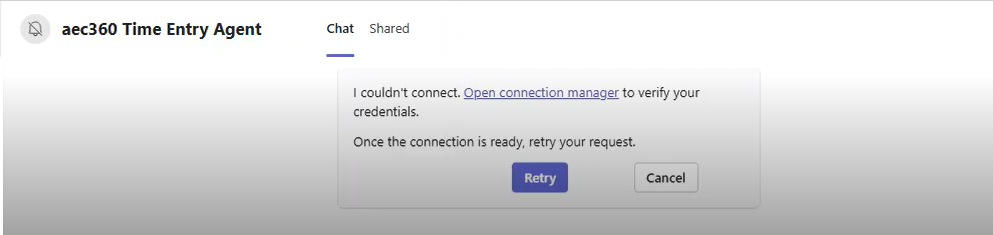
When a user interacts with the custom agent for the first time, they may be prompted to sign in. This occurs because the connection between the custom agent and the Finance and Operations (FO) instance has not yet been established.
A pop-up will display two choices: Connect and Retry. Click Connect to continue.
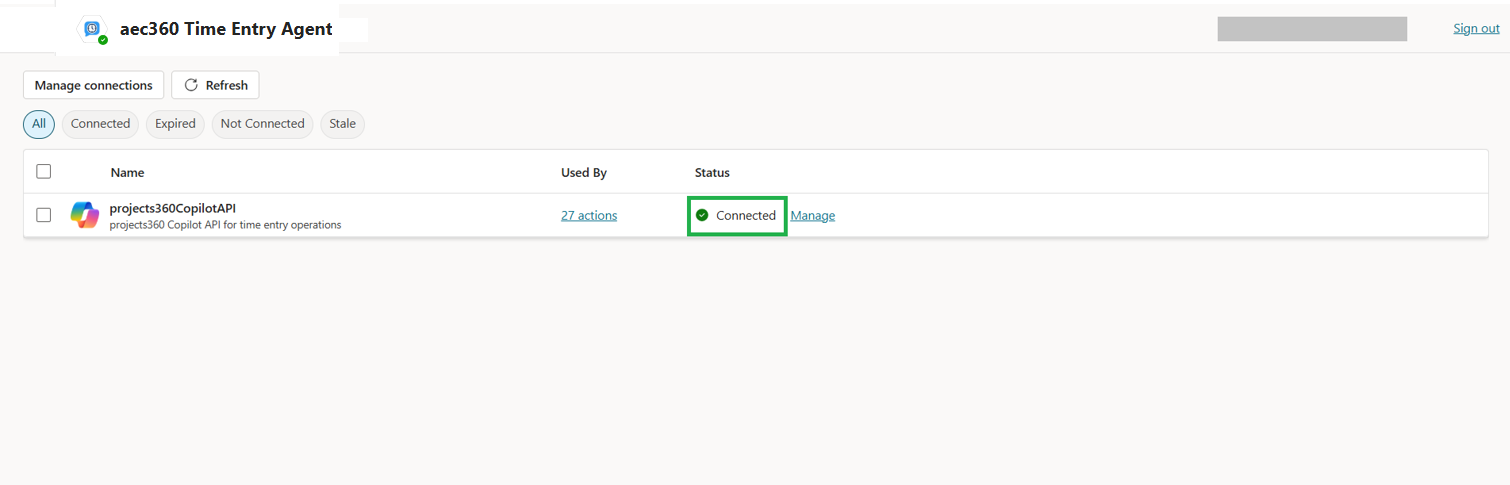
You will be redirected to a page in Microsoft Copilot Studio, where a connection will be displayed with the status “Not connected.”
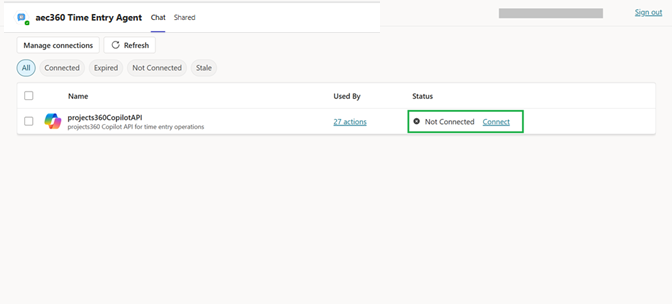
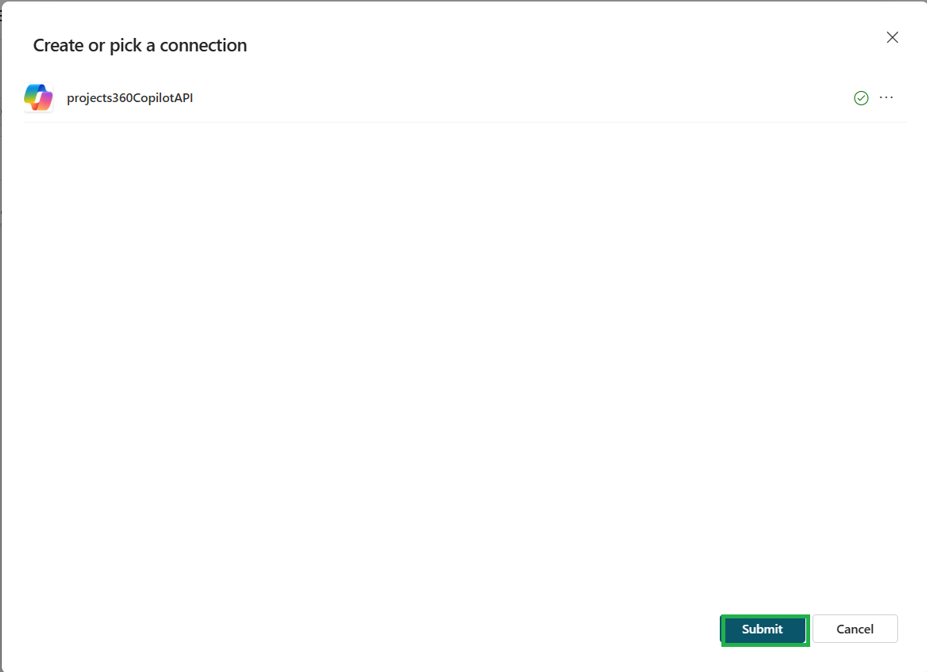
Click the Connect button next to the connection. This will open a dialog box, and then a second pop-up labeled “projects360 Copilot API” will appear.
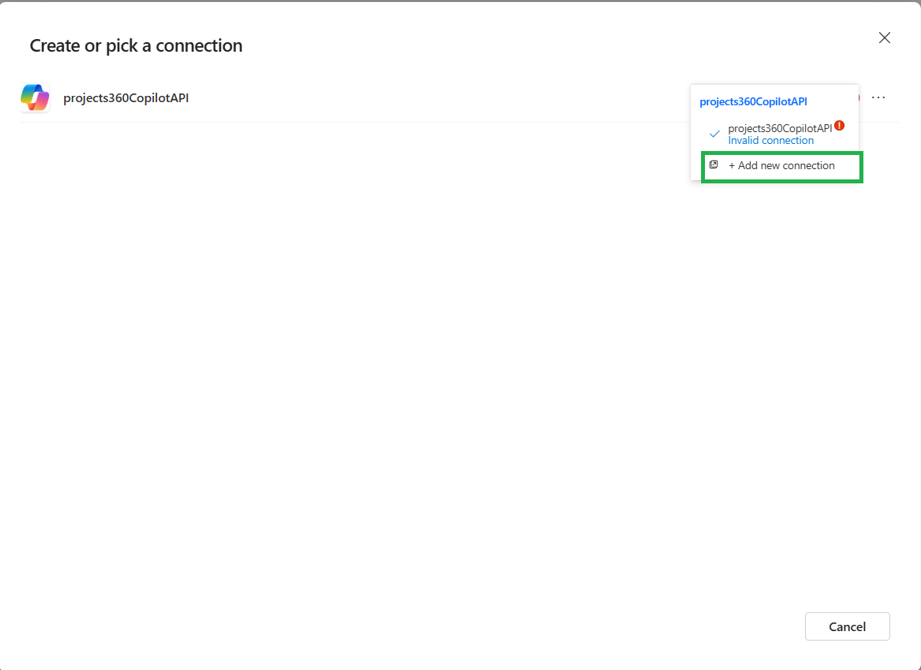
In the pop-up, select “Create new Connection” and choose OAuth Connection as the authentication type. Then, click Sign in.

You will need to confirm your credentials—pick the account you want to use.
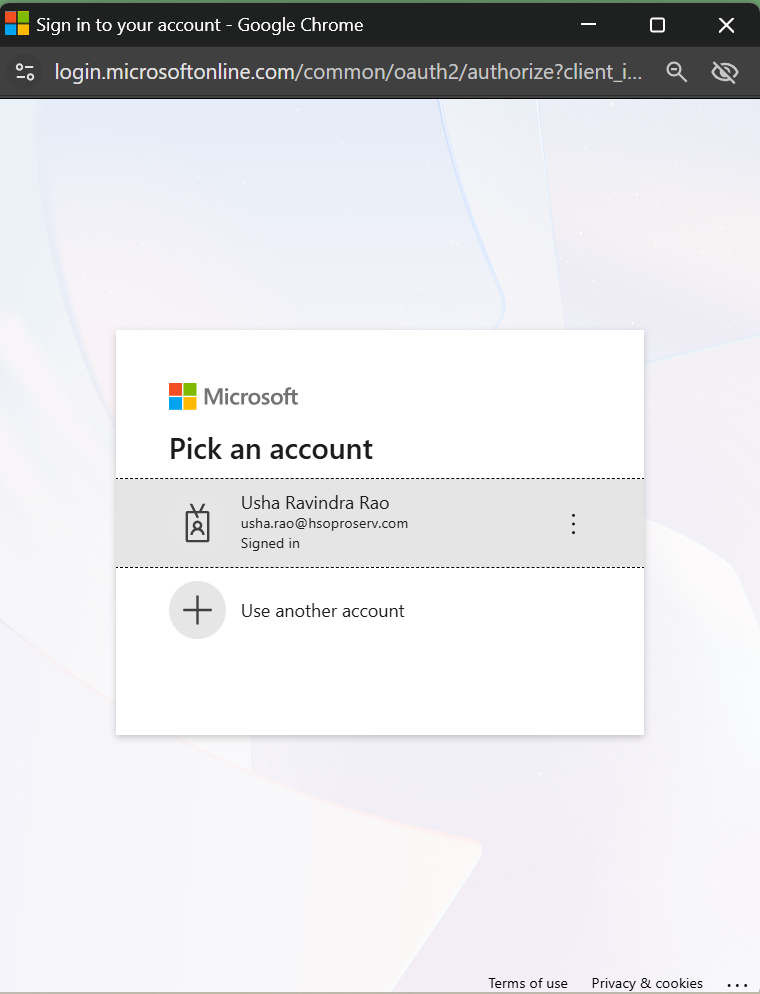
Once your account is selected, a window labeled “Create or Pick Connections” will appear. Click Submit to continue.
Once the process is complete, the connection status will change from “Not Connected” to “Connected.”