Selection of custom copilot agent
Multiple custom Copilot agents are deployed, with each agent linked to a specific Finance and Operations (FO) environment. As teams typically work within a dedicated FO instance, selecting the correct Copilot agent is critical to ensure that expense data is recorded in the appropriate environment.
Once the relevant custom Copilot agent is selected in Microsoft teams, users can create and manage expense entries directly through the agent interface. Any information entered via the Copilot agent is automatically saved and synchronized with the associated FO environment.
Each Copilot agent uses the configuration, business rules, and settings defined in its connected FO instance. This ensures consistency, compliance with organizational policies, and alignment with environment‑specific processes.
Procedure for selecting the Copilot custom agent associated with your Finance and Operations (FO) instance
- Open Microsoft teams and sign in using your Microsoft credentials.
- Once logged in, go to the Apps section in the left-hand panel and select it.
- In the Apps menu, scroll down to Build for your org. Here, you’ll see all custom Copilot agents deployed to the same Microsoft teams tenant you’re signed into—this should correspond to your Finance and Operations (FO) environment.
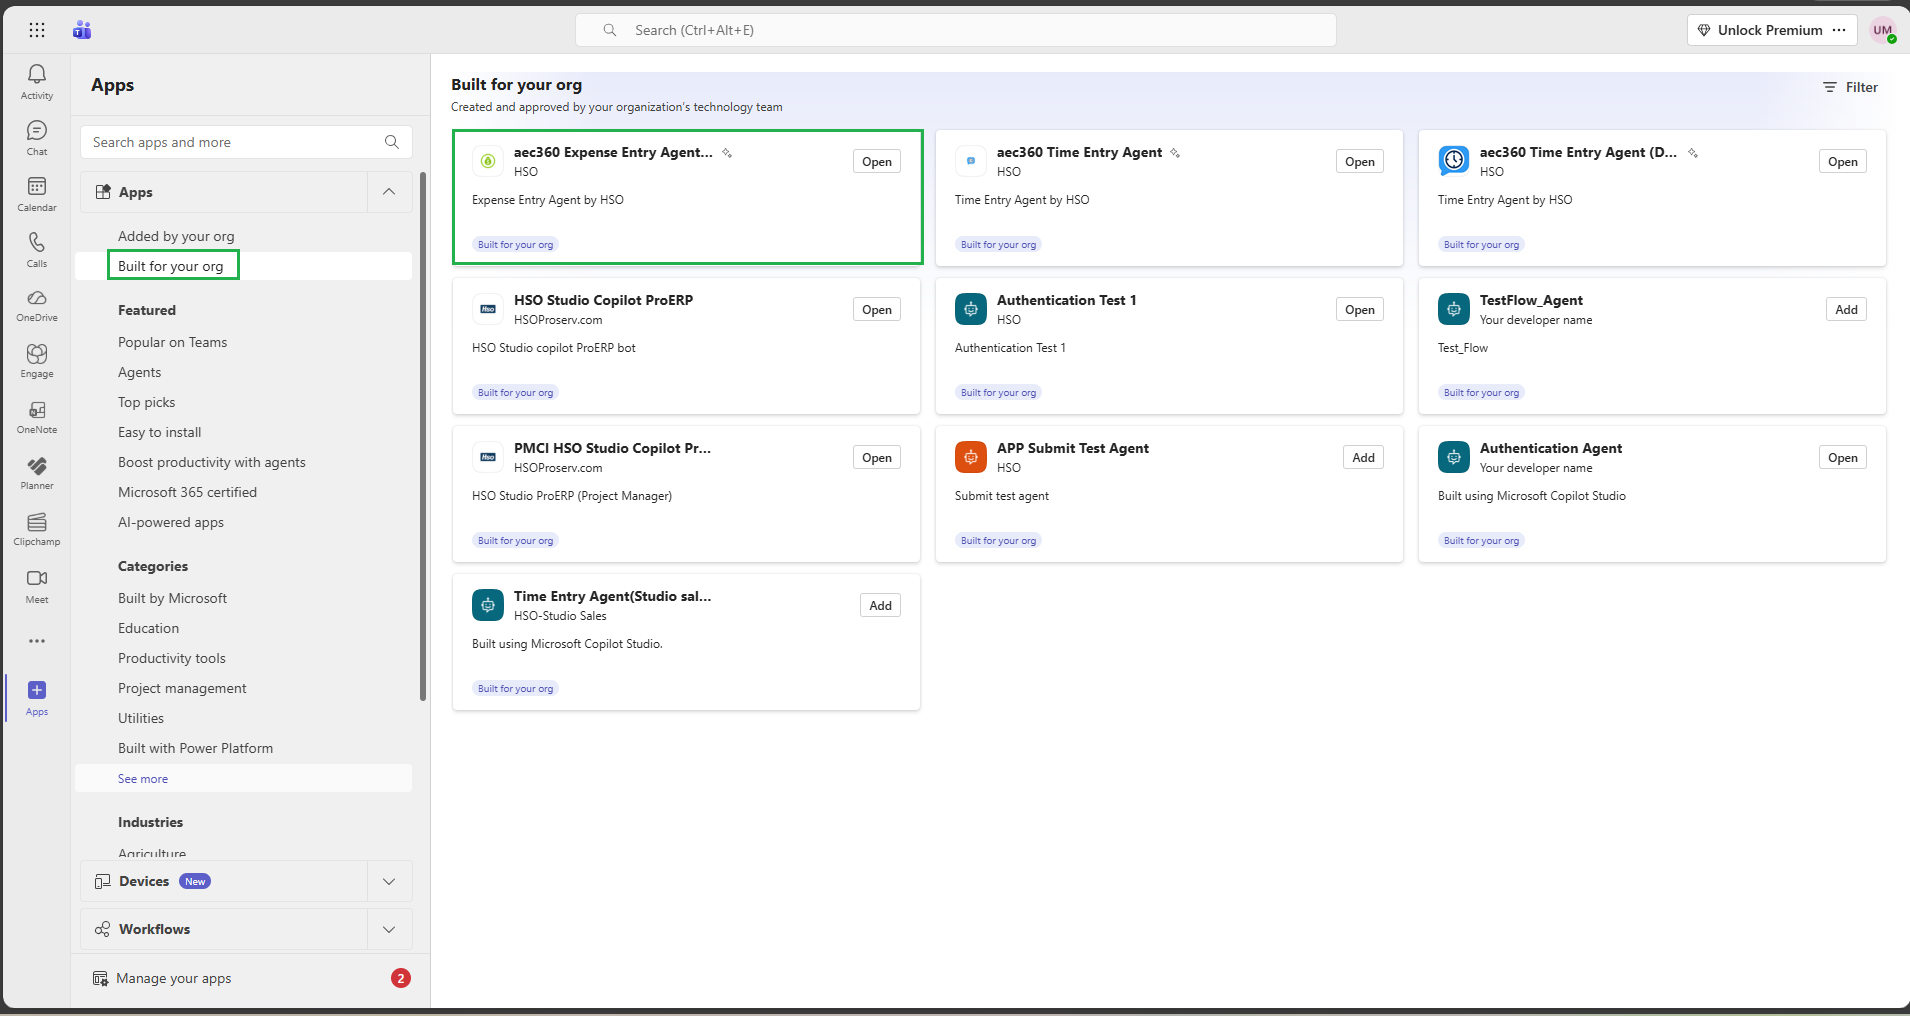
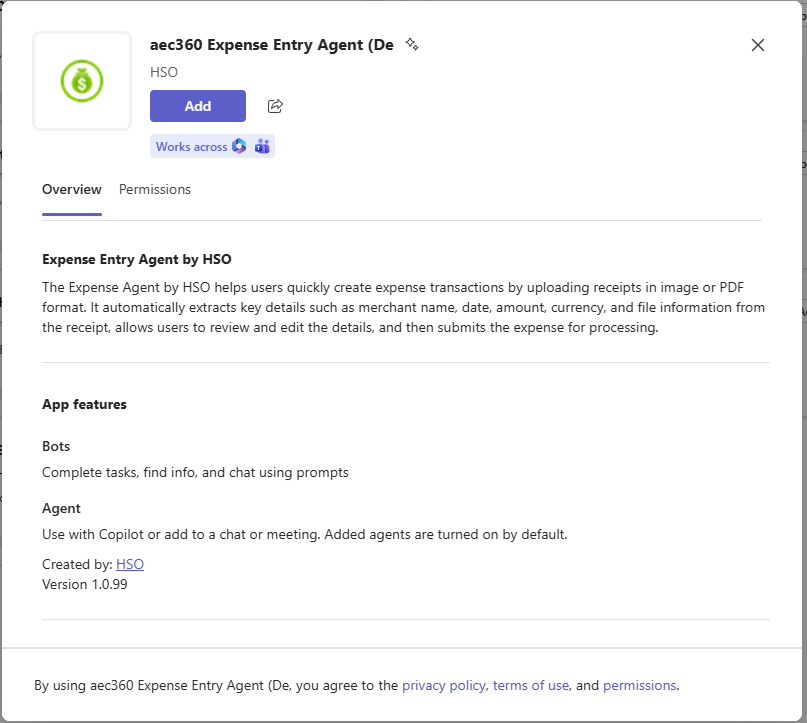
After identifying the appropriate custom agent, select Add to proceed.
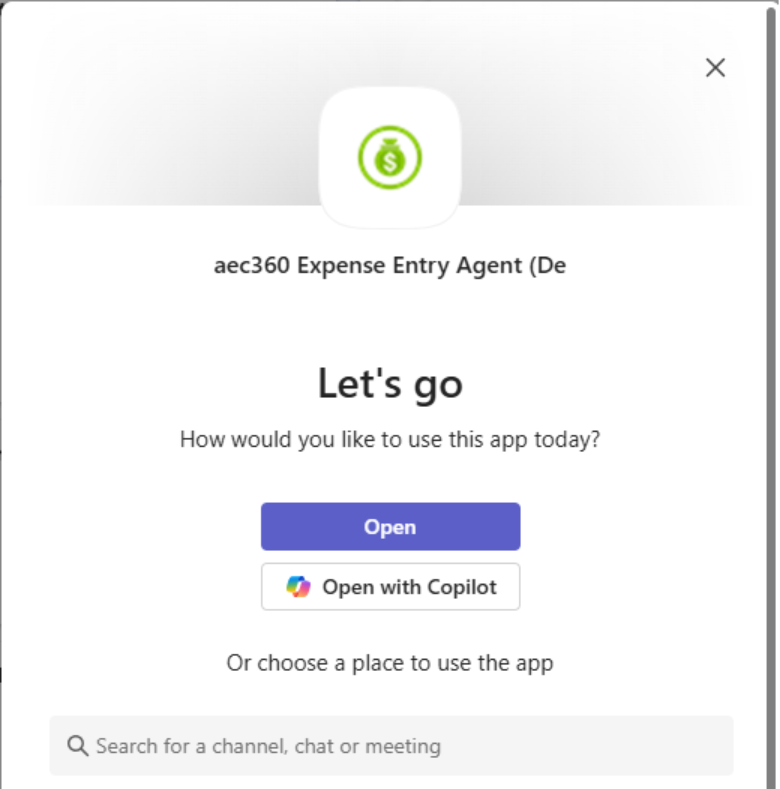
A confirmation dialog will appear indicating that the agent has been successfully added to Microsoft teams.
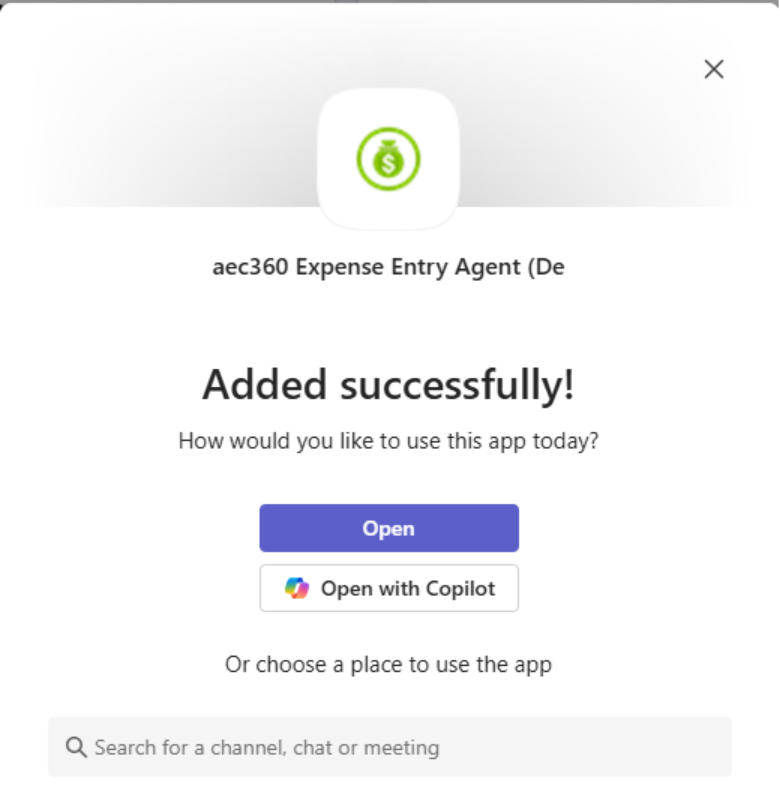
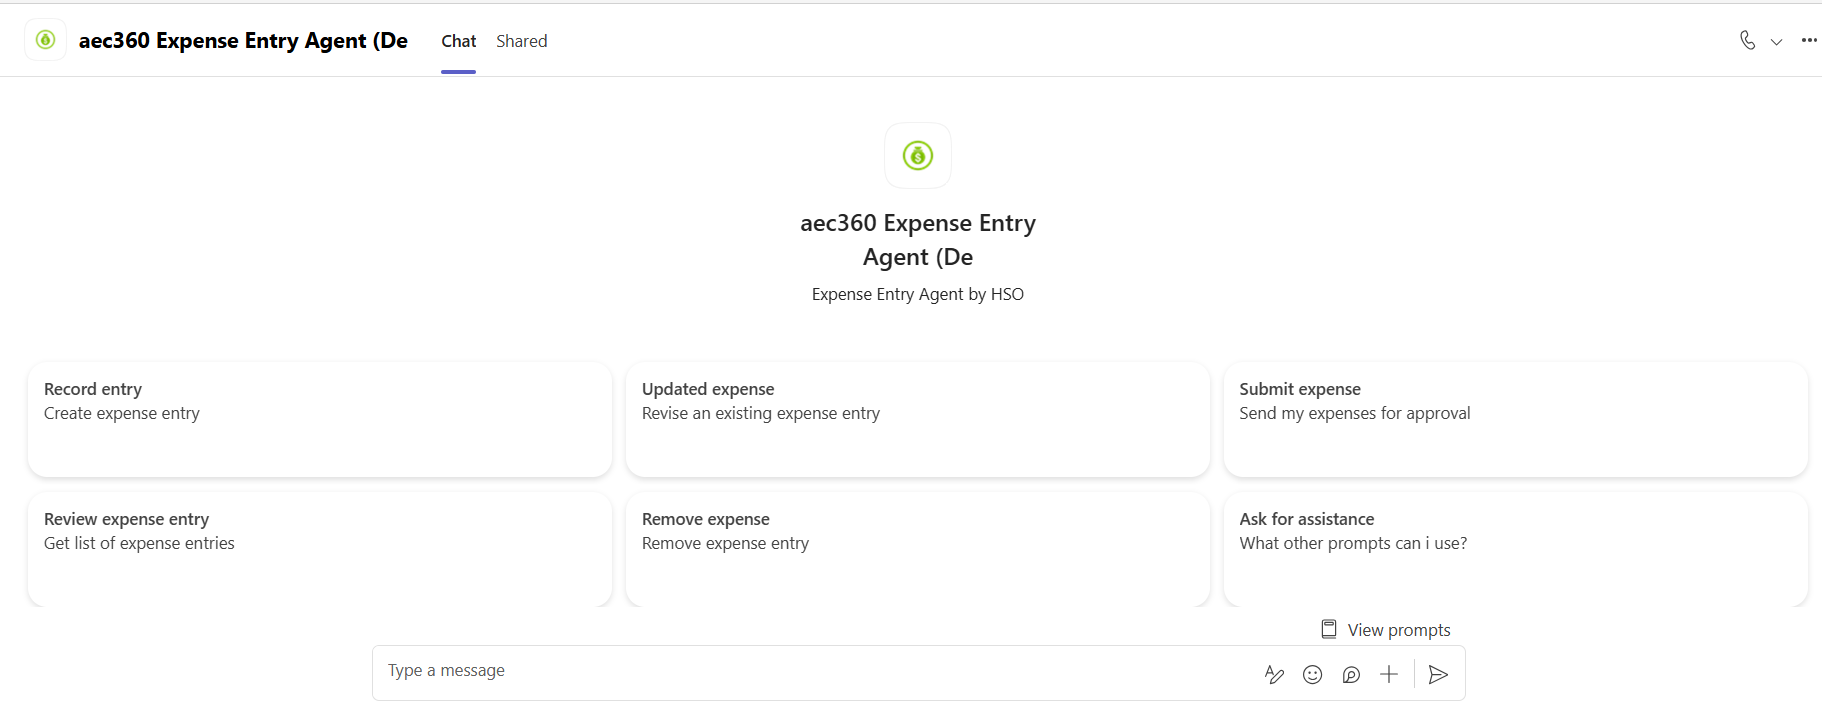
Click Open to begin interacting with the agent in a new chat window.
After signing in, you can use a variety of prompts to create expense entries directly within the chat interface.