
Expense entry
The Expense entry agent makes expense creation simple and efficient. Instead of navigating through multiple screens or waiting to create expenses later, you can capture, review, and create expenses directly from Microsoft Teams. Expenses can be created by simply providing a prompt, dragging and dropping a receipt, capturing an image, or uploading a receipt file.
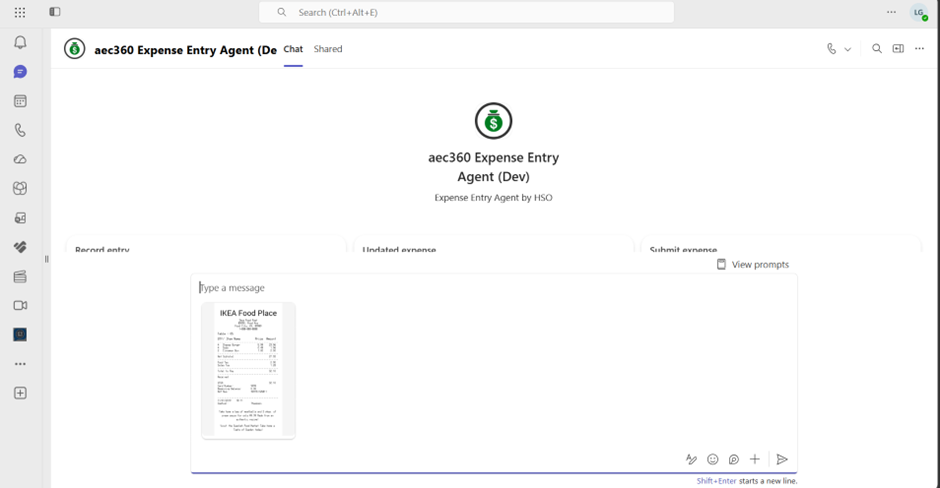
To begin, you can upload expense receipts, this starts the expense creation process and tells the agent to identify the required information.
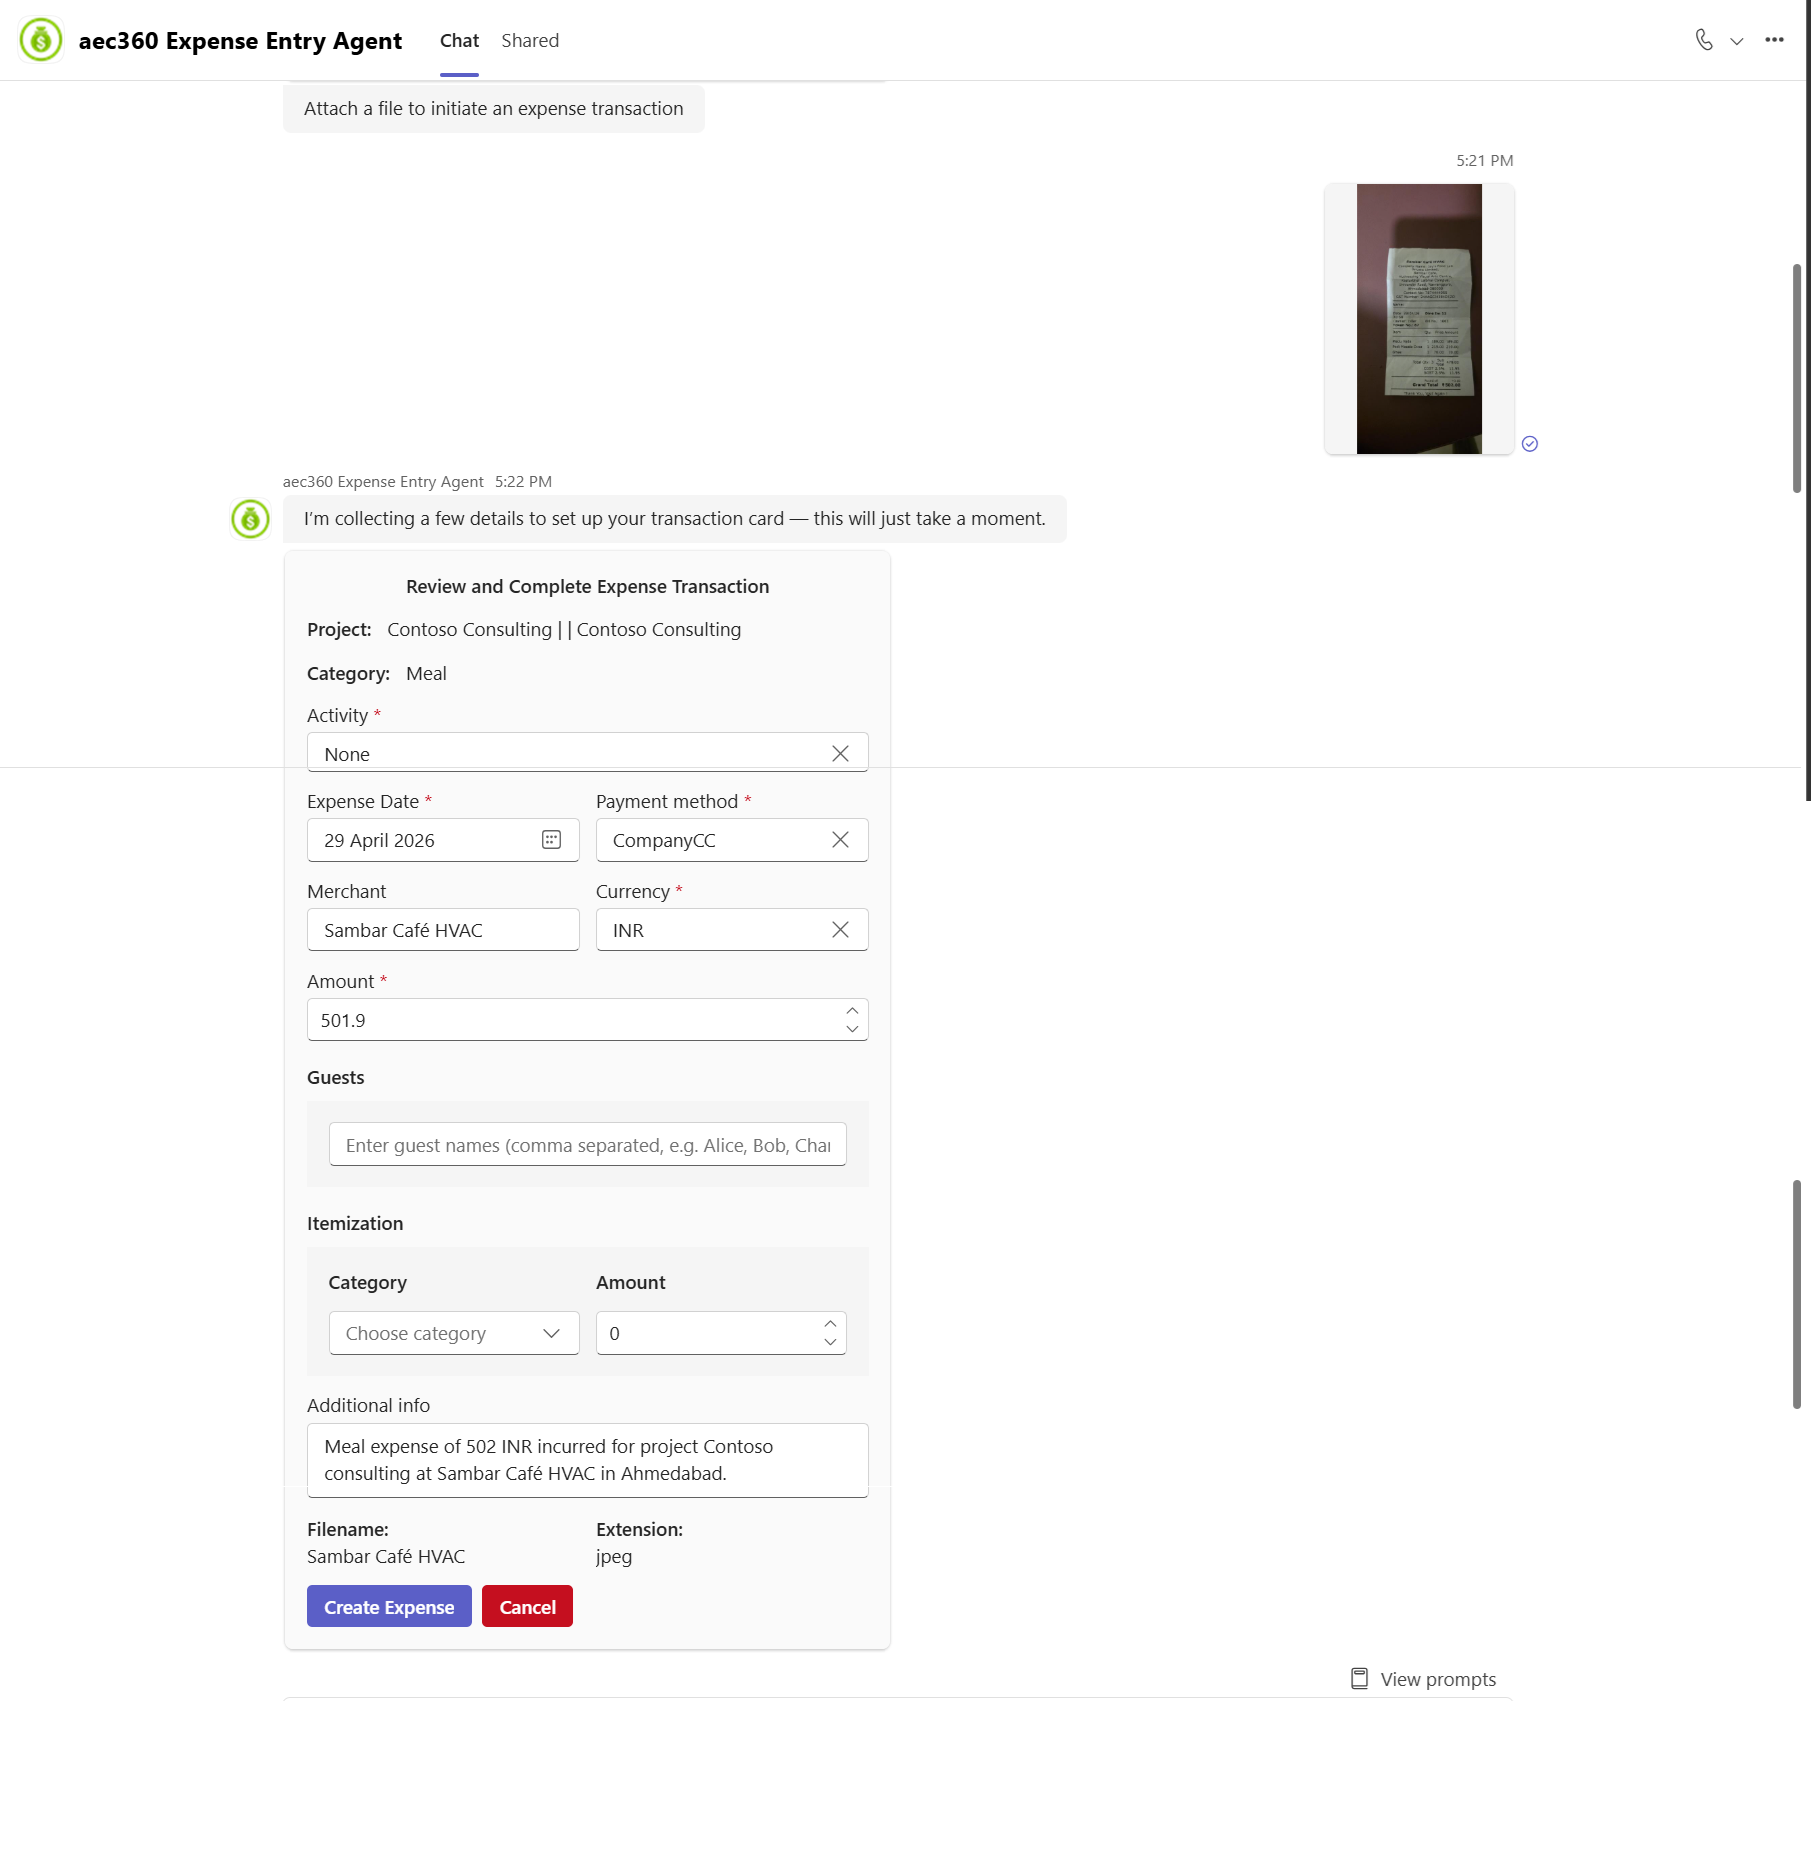
The agent then processes all the provided details and presents a review card that summarizes the expense information, including the category, project, amount, and description. User can review the details, and when everything looks correct, select Create Expense to confirm and create the entry.
Once confirmed, the agent generates an expense transaction details card displaying the finalized information. It then creates the expense in Finance and Operations (FO).

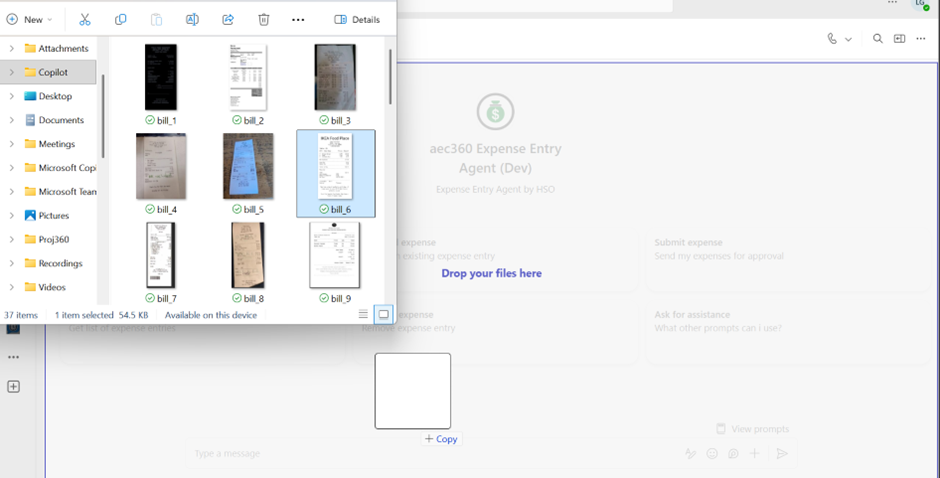
Users can drag and drop the expense receipts from the local drive to start creating an expense entry.
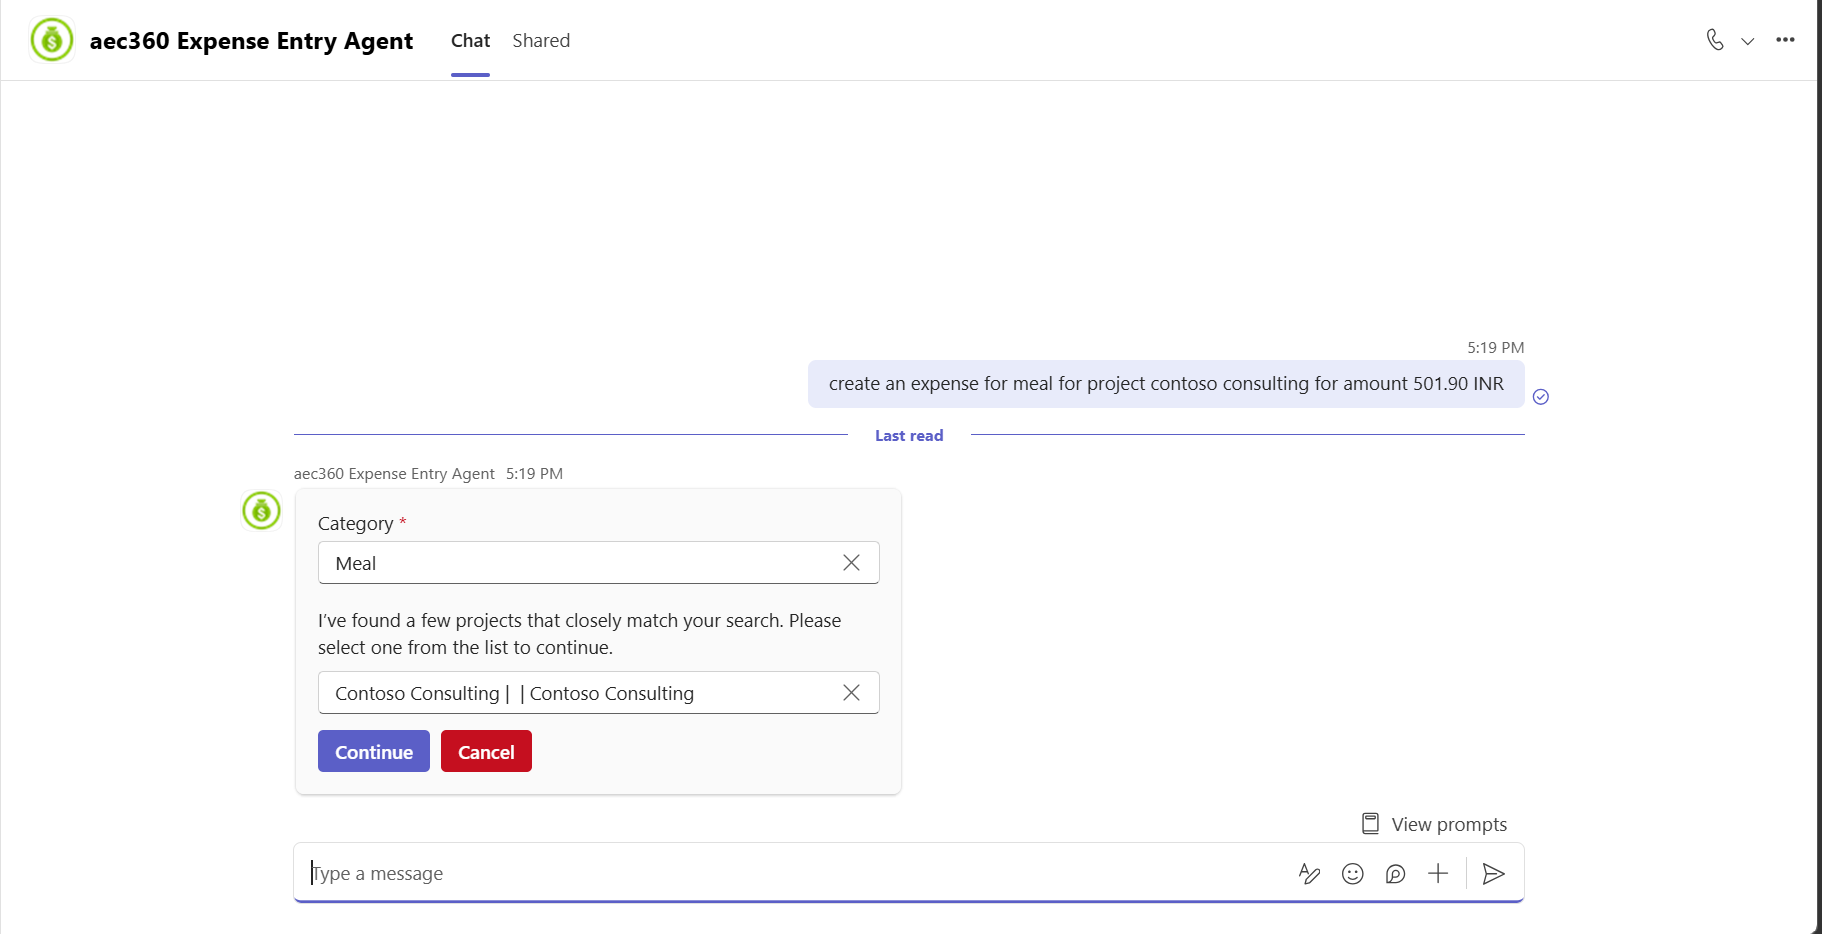
Users can also enter a prompt such as “create an expense” directly in the chat. This starts the expense creation process and tells the agent to identify the required information.
Examples: Create an expense for meal for project contoso consulting for amount 501.90 INR.
Once the request is initiated, the agent processes the provided input and extracts details such as the amount, project, date and merchant. The agent displays an output card with expense category and project captured from the provided prompt.
The agent then processes all the provided details and presents a review card that summarizes the expense information, including the category, project, amount, and description. User can review the details, and when everything looks correct, select Create Expense to confirm and create the entry.